Joining an RTP system
Getting Started
In this tutorial we are going to show you how to join a real time payments network built using Minka Ledger. We are going to setup our account in the system, show an overview of the management dashboard and get familiar with the basic concepts.
To follow this tutorial you will need an invitation to a ledger instance (ACH) operated by a real time payments services provider. You should have received an email invitation with a link to setup your account.
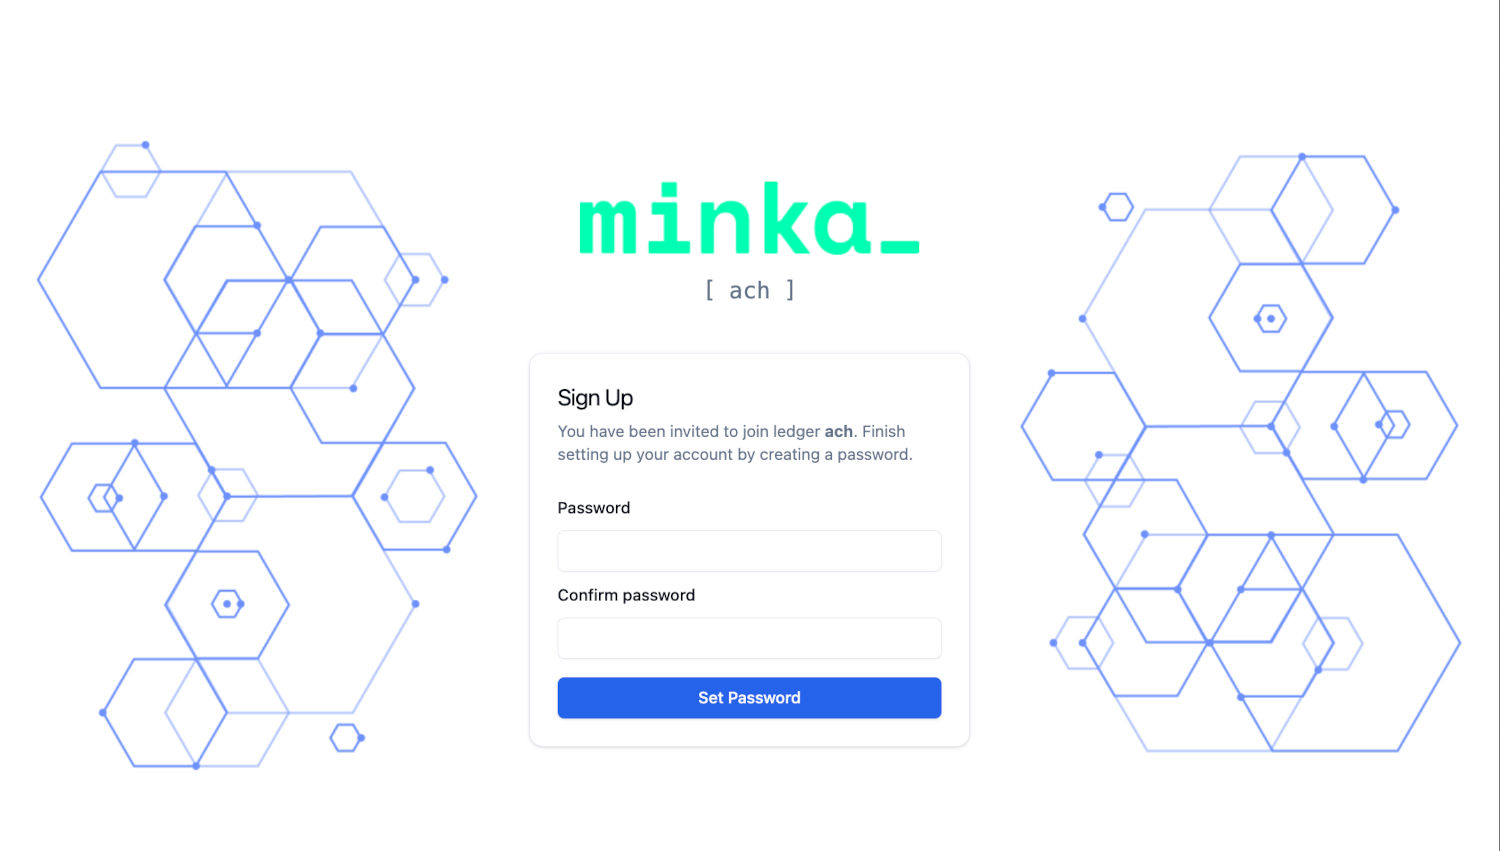
Please click on the link from the email and setup your account, if you haven’t done this already. The link should open a page that will allow you to setup your password:
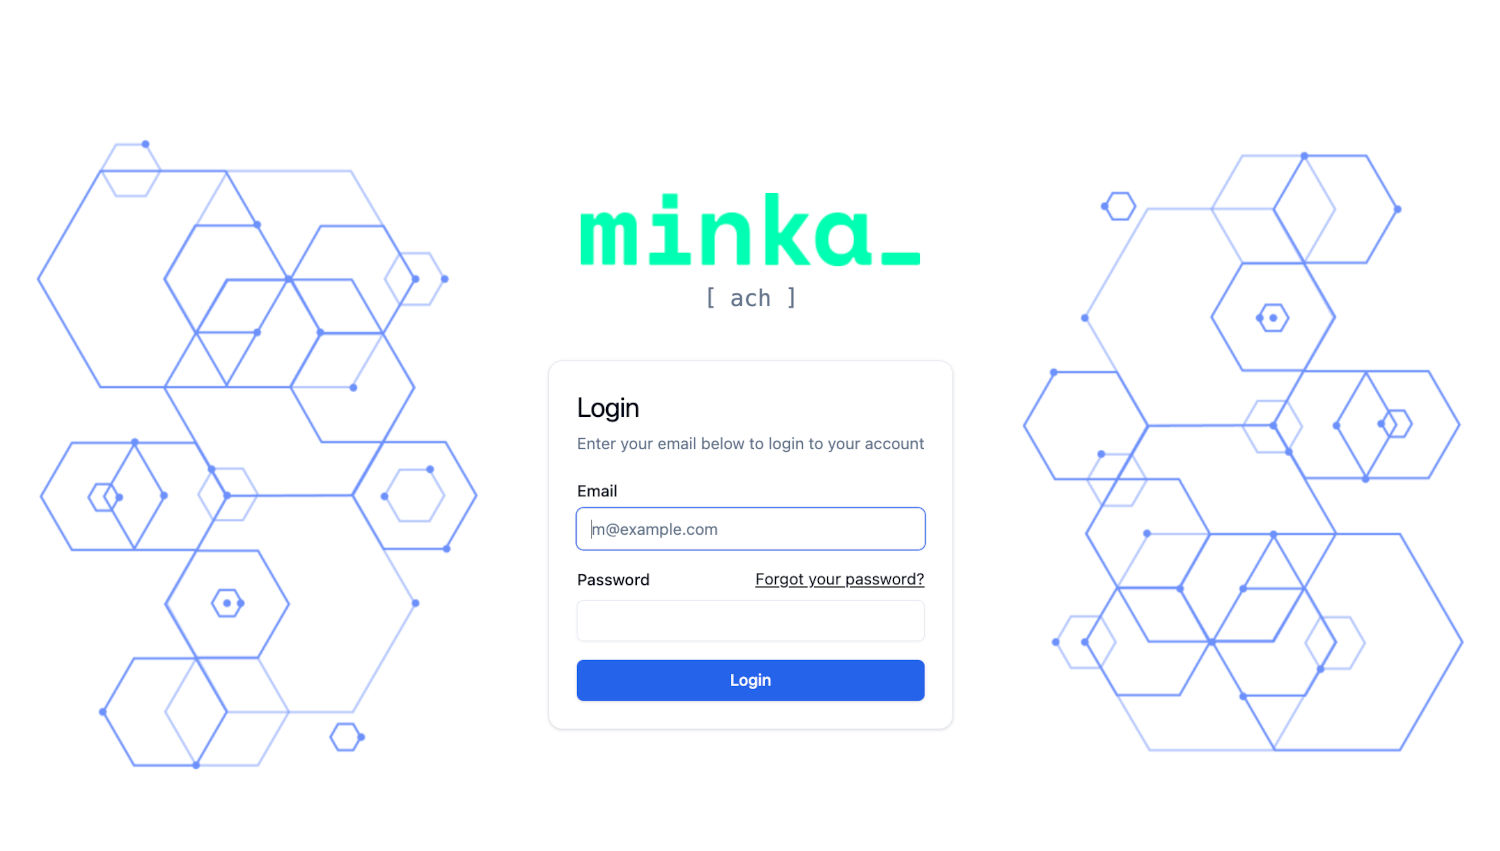
After setting up your password you will be able to login using your email and the password you have just setup:
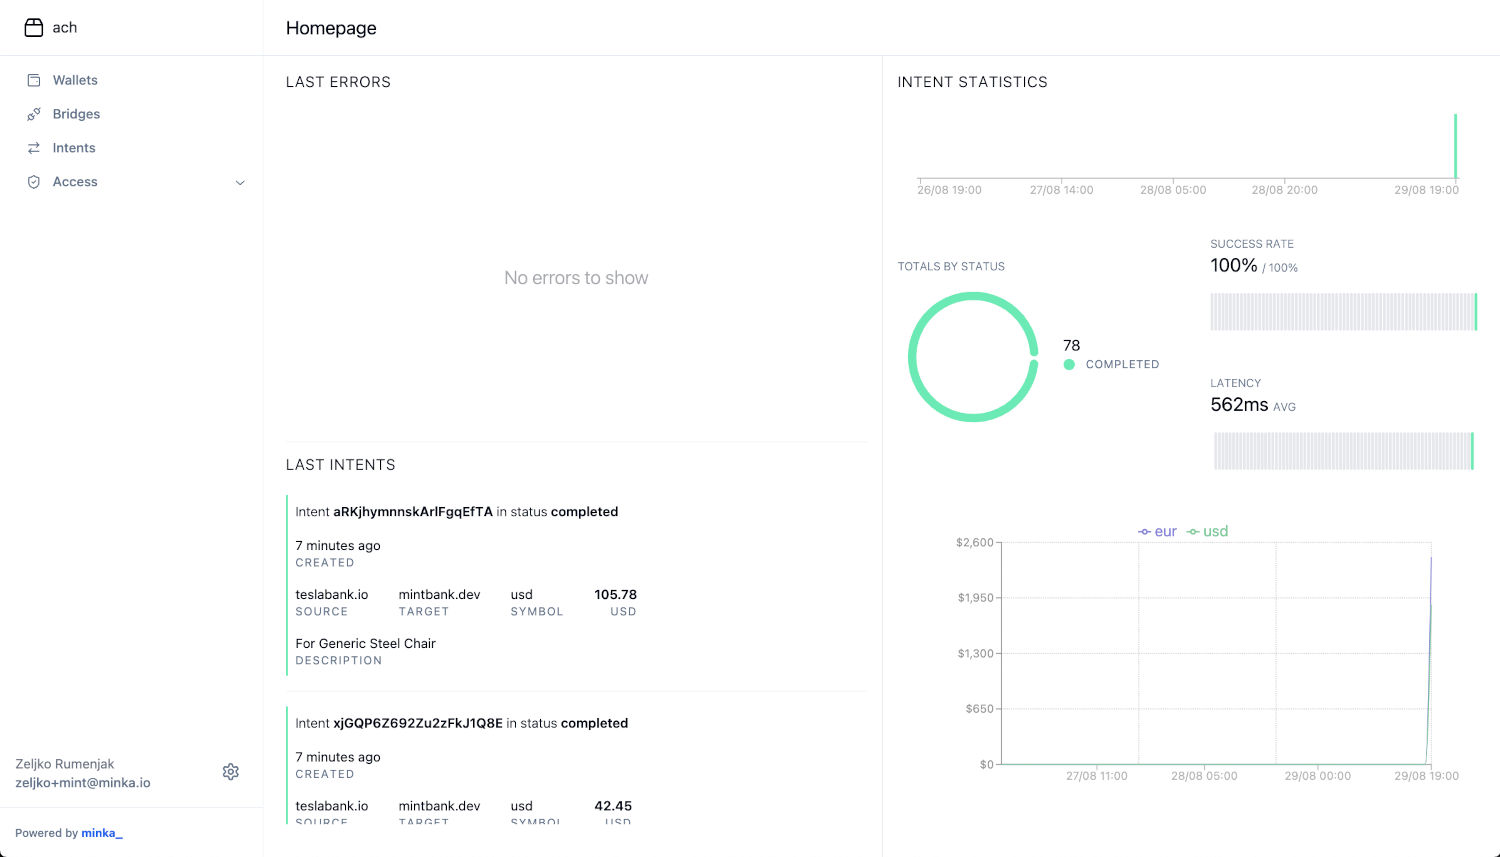
After logging in you will see an overview of your bank, most of the things are going to be empty now, since we don’t have any real transactions, but you should see some test data in the system which can help you to get familiar with basic functionalities:
On the wallets page you should see your bank wallet. Wallets in ledger are used to hold balances. Your bank wallet is going to be used as the settlement account and it represents the balance that you have in the real time payments network:

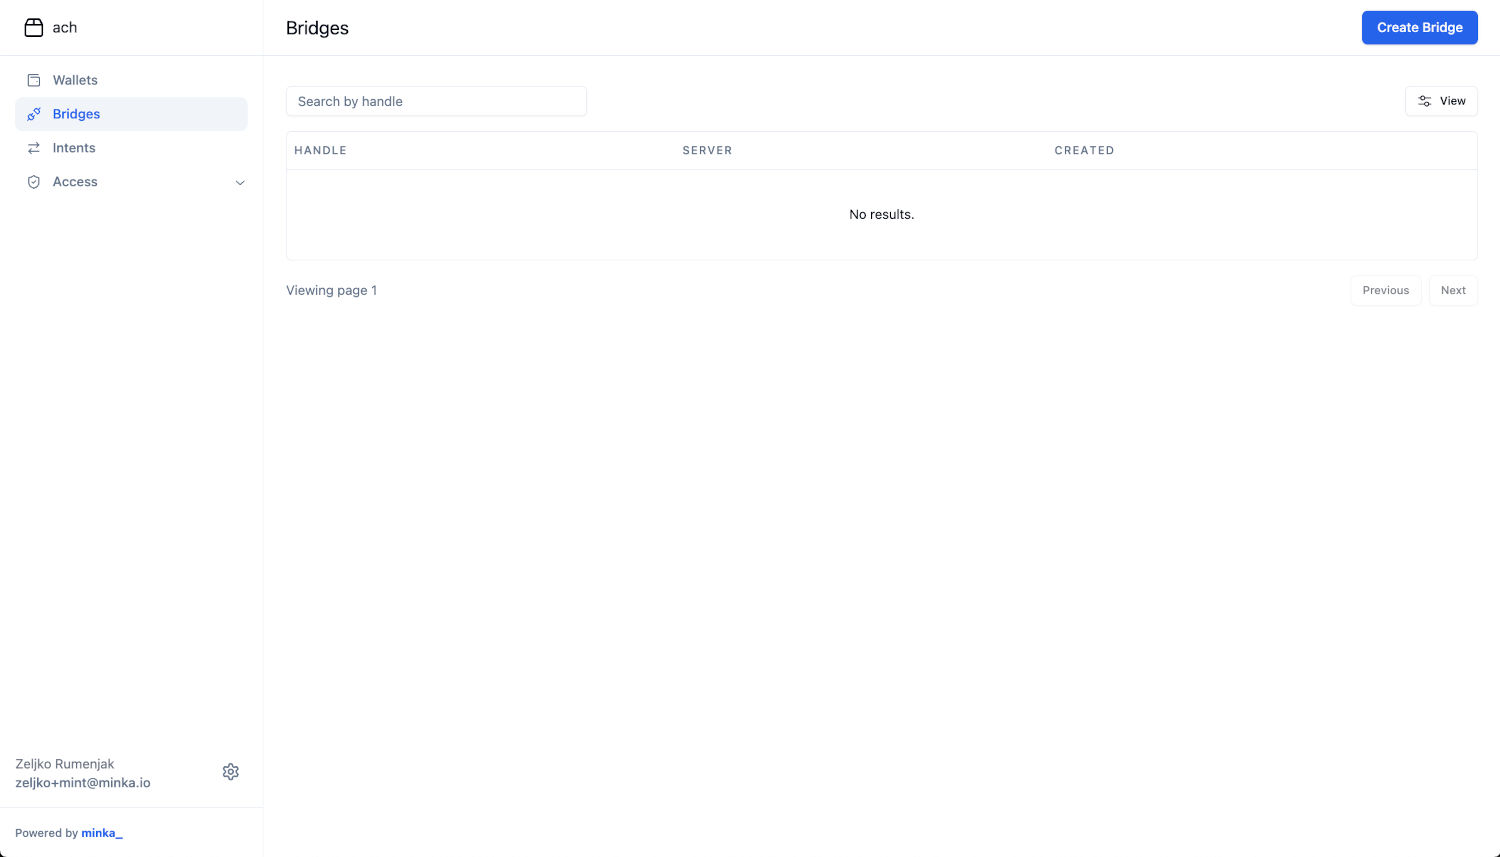
Bridges are used to integrate your banking systems to the real time payments network. We will setup our own demo bridge in this chapter to see how this works. For now this page should be empty:
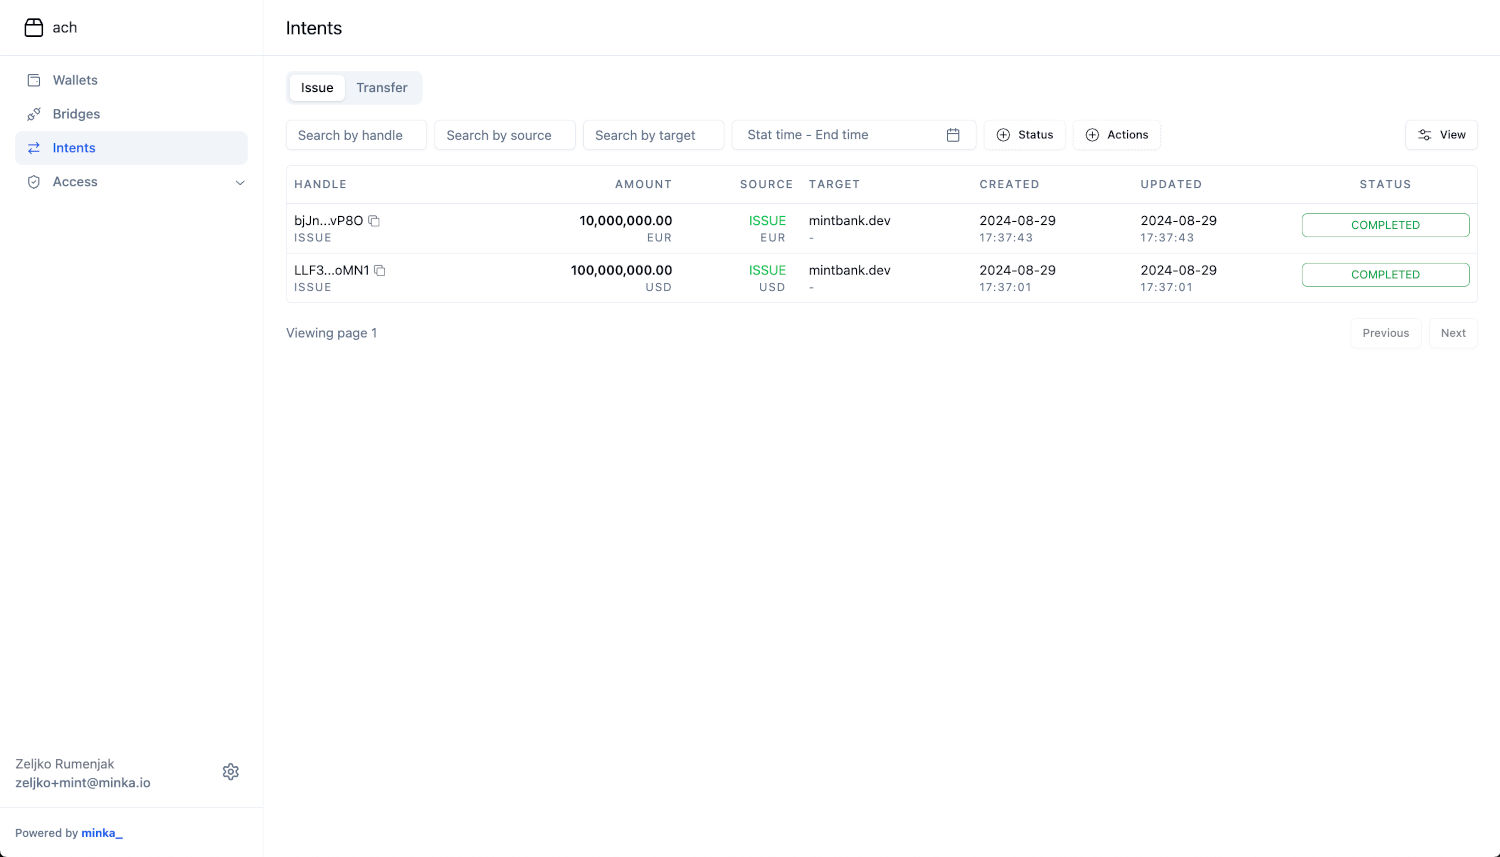
Payment intents are used to represent all balance movements in the system. There can be many types of intents in financial systems, for now we have only two types configured: issue, destroy, and transfer. Intent list can be filtered using various criteria like source, target, date range, status, etc.
Issue and destroy intents are used to introduce or remove currency from the system. You should see 2 issue intents that were used to issue initial balances to your bank by the ACH:
Transfer intents are used for transfers between bank clients. Sources and targets of these intents are bank account numbers represented as ledger addresses:
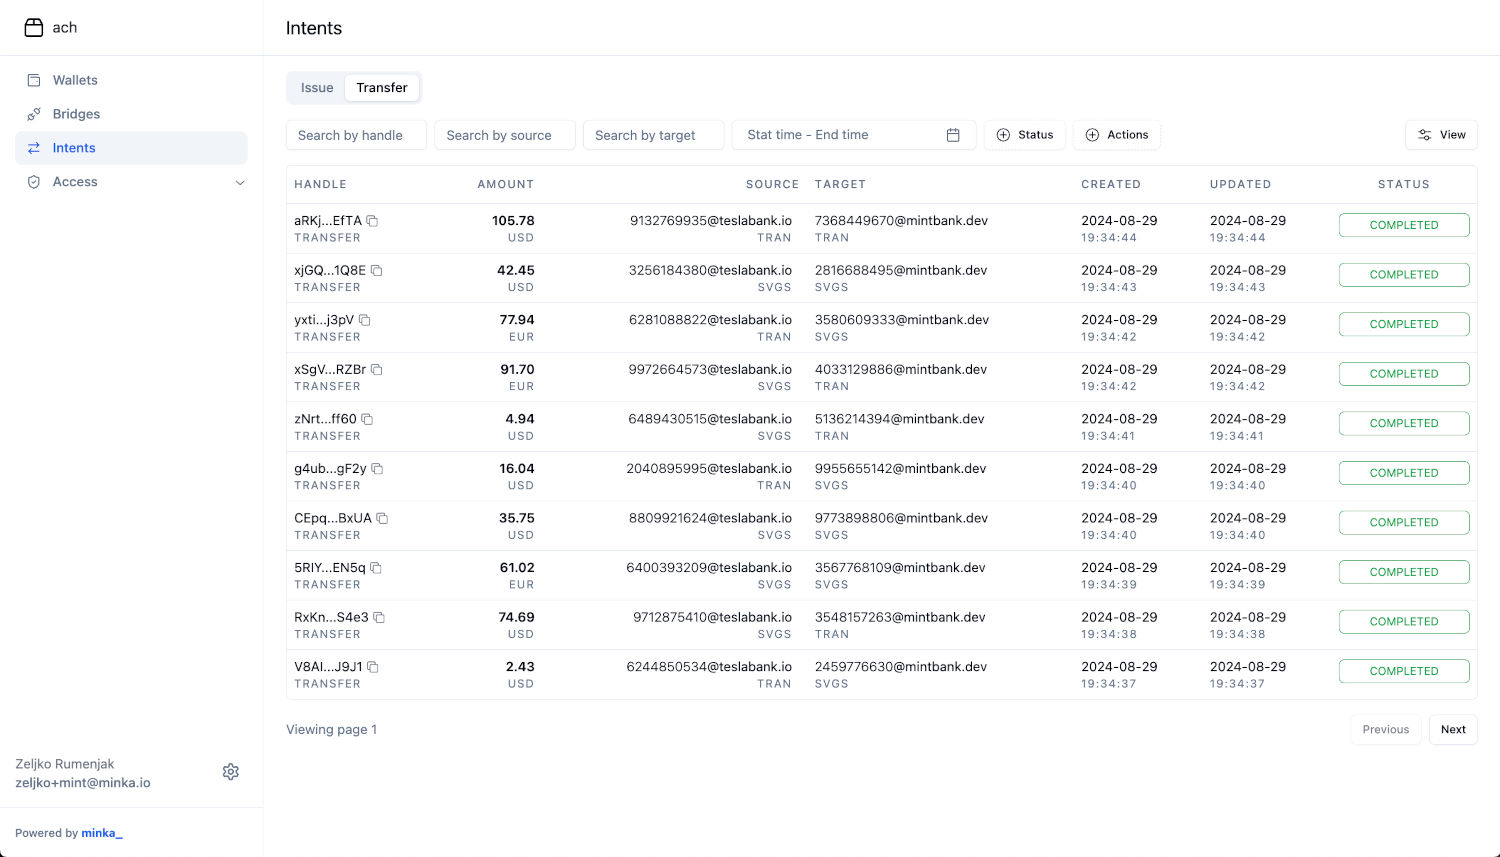
Ledger addresses are used to uniquely identify bank accounts using a email-like addressing, for example svgs:1001001003@mint.dev. This address defines a bank account type, bank account number and bank name in user-friendly format.
If we open a preview of one intent, we can see that intent processing consists of several statuses, and that each intent contains additional information about bank clients:
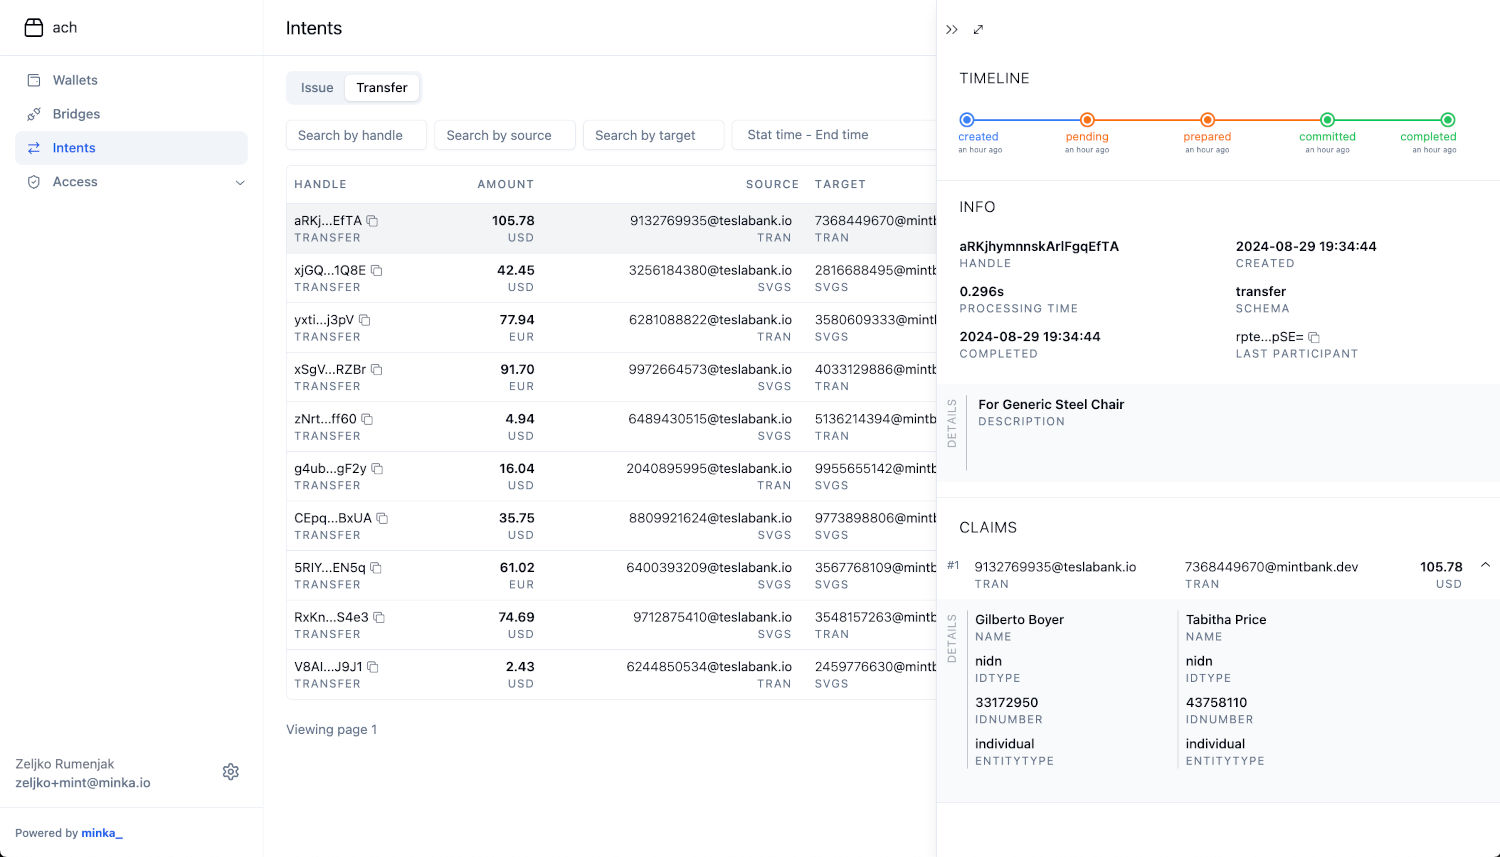
Ledger security model is based on digital signatures. Each ledger operation needs to be signed using a private key with sufficient permissions. We can examine an intent in more detail by opening a full view using the icon at the top left of the details pane or by pressing the space keyboard key:
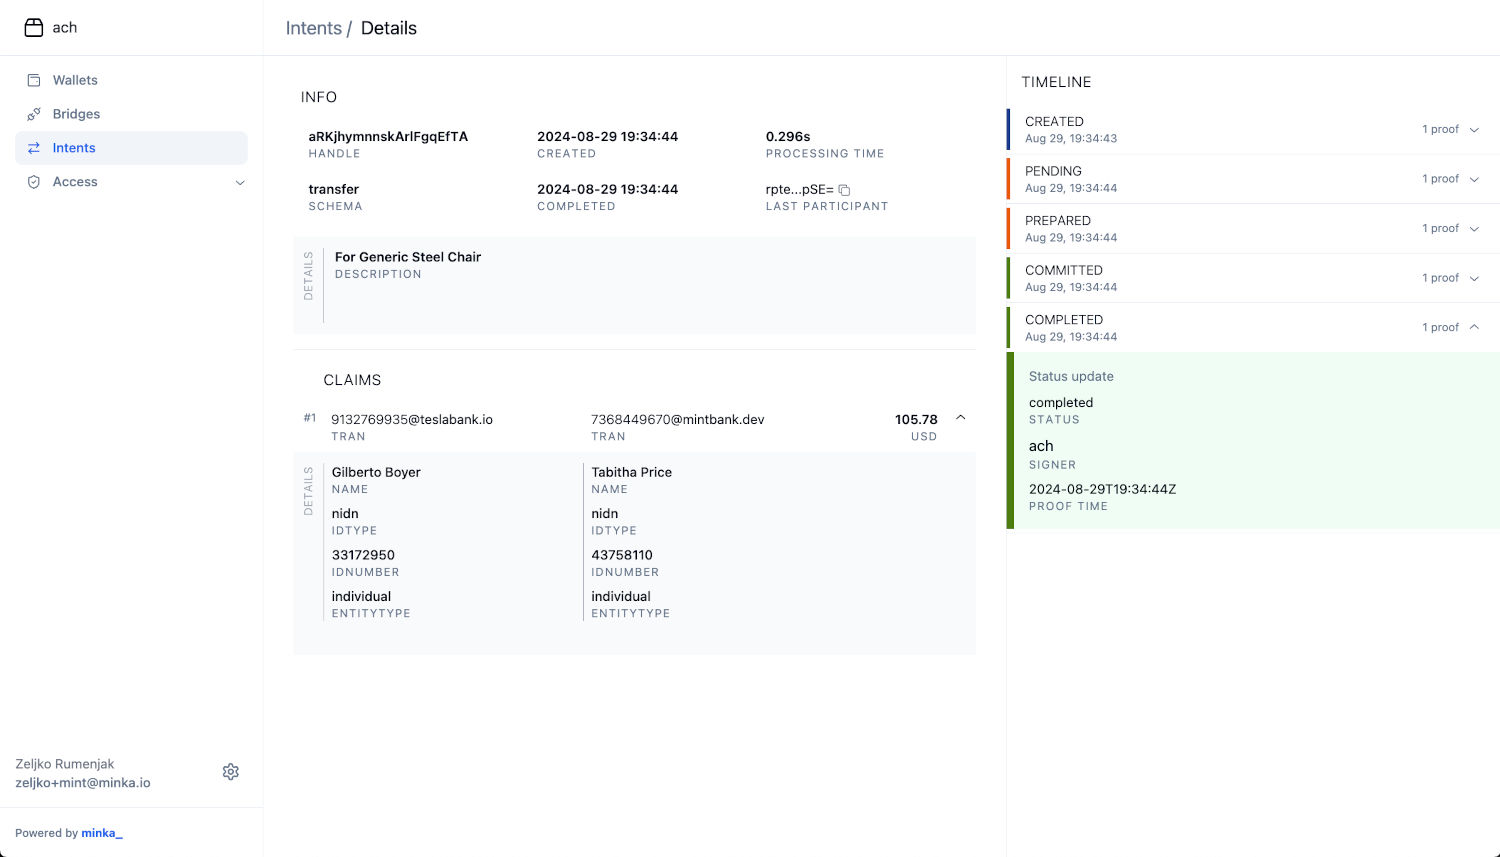
The timeline on the right shows the proofs collected by the ledger in order to process this intent. Each proof contains verifiable information which identifies the party which submitted it, when it was submitted and additional information like references to banking core operations. For example, in the screenshot above we can see that the intent was completed by ach.
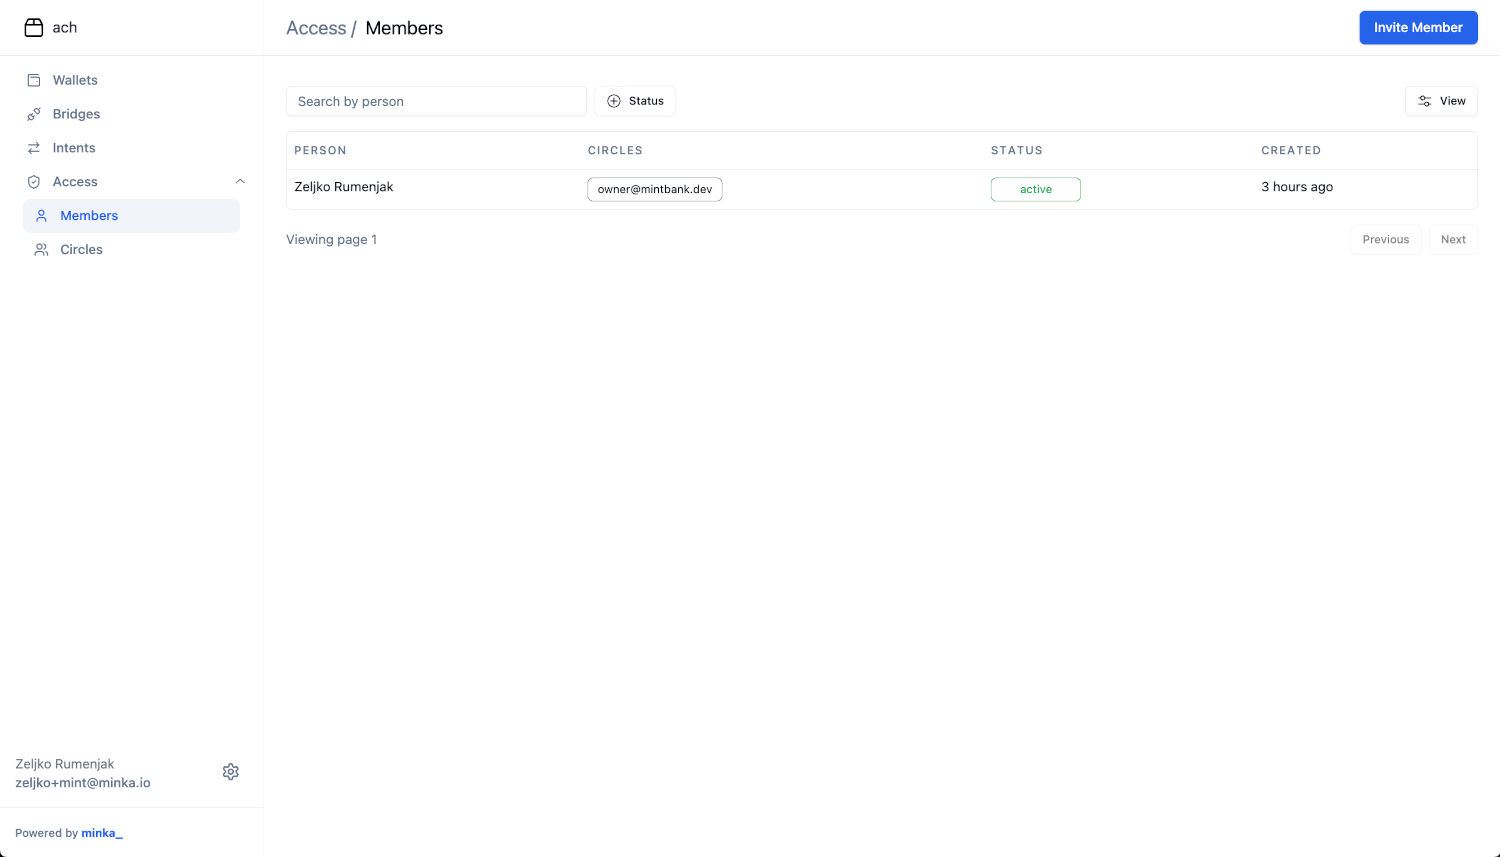
Access part of the dashboard allows you to manage users and permissions. You can use members page to invite new users to your organization:
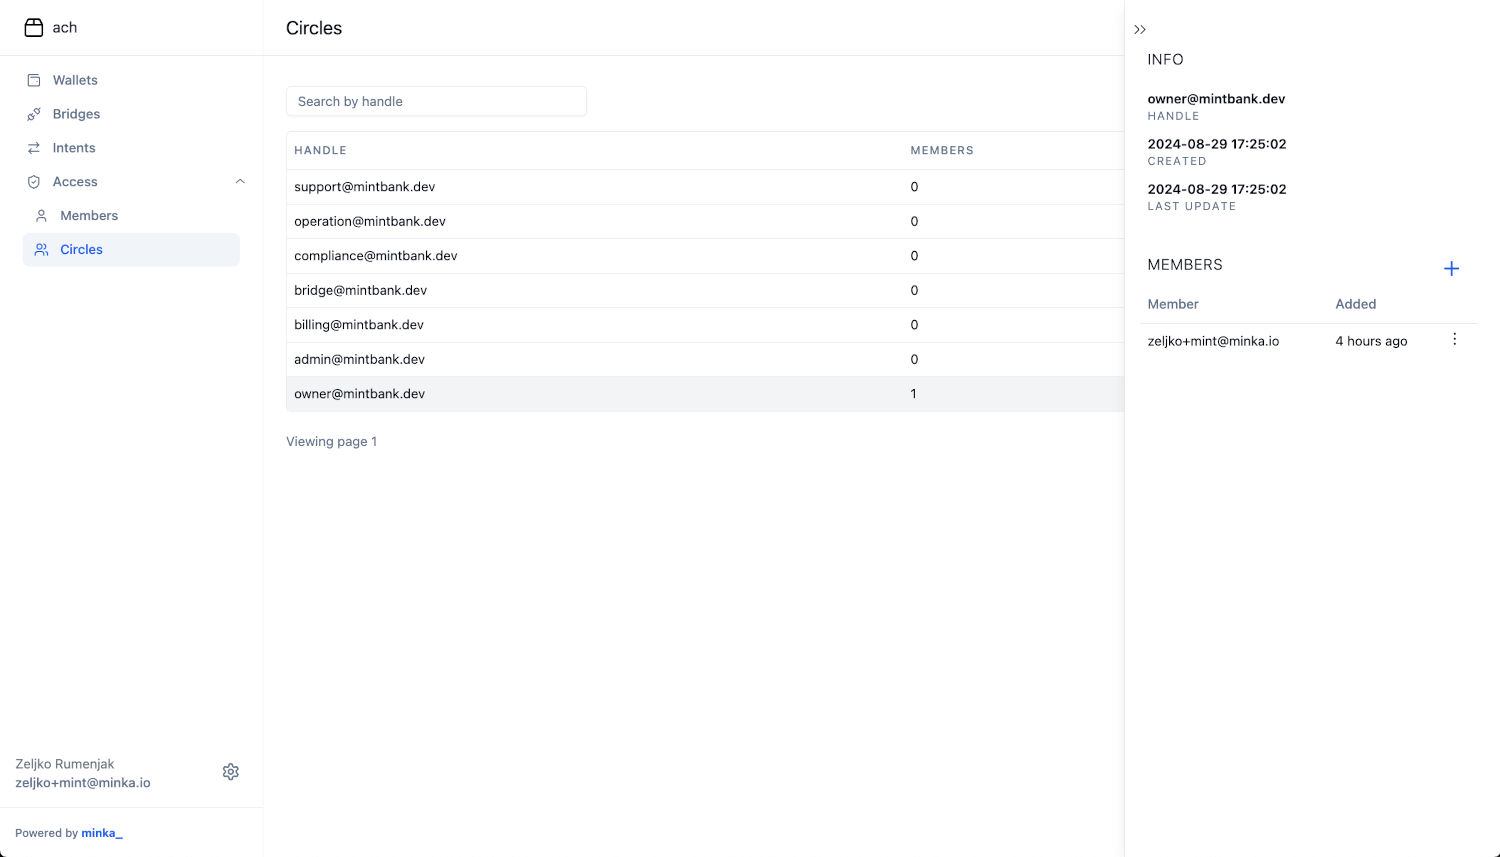
Circles represent user groups, members of each circle have certain permissions and adding a member to a circle grants those permissions to a member:
What’s next?
Next we will install the Minka command line tool and show how we can create our first real time payment.
You can find more details on how to do that in our other tutorials and how to guides.